Building Your First PC: A Beginner’s Guide
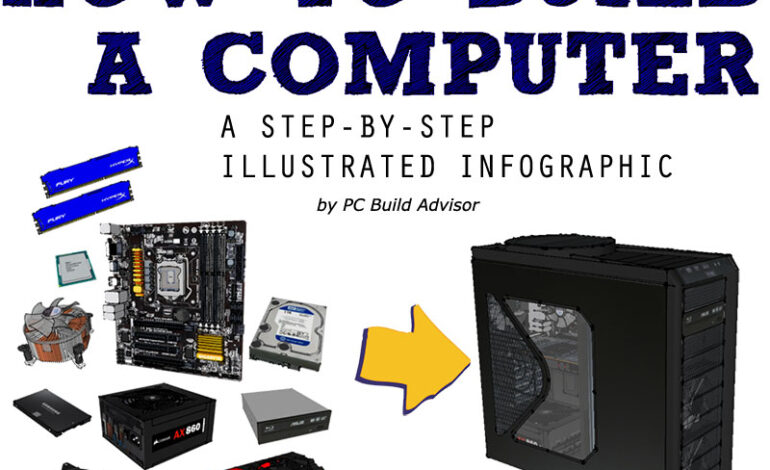
Building Your Own PC: A Step-by-Step Guide for Beginners
So, you’re thinking about building your own PC? Excellent choice! It might seem daunting at first, but with a little guidance and patience, it’s surprisingly achievable. Not only is building your own computer incredibly rewarding – you get exactly what you want and learn a ton in the process – but it can also save you money compared to buying a pre-built system, especially if you know what you’re doing. This guide will walk you through every stage, from selecting components to that satisfying moment when everything powers on for the first time.
1. Planning and Component Selection: The Foundation of Your Build
Before even touching a screwdriver, careful planning is crucial. You need to determine what you’ll be using your PC for – gaming, video editing, general use? This dictates which components are most important. Let’s break down the key parts:
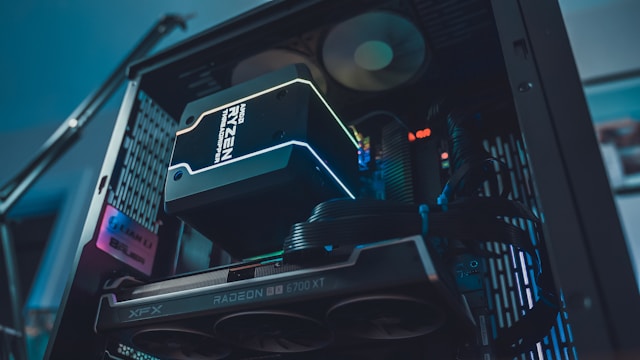
CPU (Central Processing Unit): The Brain of Your Computer
The CPU is responsible for executing instructions and performing calculations. AMD and Intel are the two main manufacturers. For gaming, a fast clock speed and a good core count are vital. Consider how many cores you need; modern games benefit from more cores, while older titles may not. Research benchmarks to see how different CPUs perform in your intended use case.
GPU (Graphics Processing Unit): Visual Powerhouse
If you’re gaming or doing any graphically intensive work (video editing, 3D rendering), the GPU is arguably *more* important than the CPU. Nvidia and AMD dominate this market. VRAM (Video RAM) is crucial – more is better for higher resolutions and textures. Again, research benchmarks; a powerful CPU paired with a weak GPU will bottleneck your performance.
Motherboard: The Central Hub
The motherboard connects all the components together. It’s essential that it’s compatible with your chosen CPU (check the socket type – e.g., AM5 for some AMD CPUs, LGA 1700 for newer Intel CPUs) and RAM. Consider features like PCIe slots (for GPUs and other expansion cards), USB ports, and M.2 slots (for fast NVMe SSDs). The chipset on the motherboard also affects functionality and overclocking potential.

RAM (Random Access Memory): Short-Term Memory
RAM is used for temporarily storing data that the CPU needs to access quickly. 16GB is generally considered a minimum these days, but 32GB is becoming increasingly common and recommended, especially for gaming or content creation. Pay attention to RAM speed (measured in MHz) and timings – faster RAM can improve performance.
Storage: SSD vs HDD
You’ll need a storage device for your operating system, applications, and files. SSDs (Solid State Drives) are significantly faster than traditional HDDs (Hard Disk Drives) and should be used for your OS and frequently accessed programs. An NVMe SSD is even faster still! HDDs are good for mass storage of less-used files.
Power Supply (PSU): Providing the Juice
The PSU provides power to all the components. It’s crucial to choose a PSU with enough wattage to handle your system’s needs, plus some headroom for future upgrades. Use a PSU calculator online to estimate your power requirements. Also look for 80+ certification (Bronze, Silver, Gold, Platinum, Titanium) – this indicates efficiency.
Case: Housing Your Components
The case protects the components and provides airflow. Consider size compatibility with your motherboard (ATX, Micro-ATX, Mini-ITX), cooling options, and aesthetics. Good airflow is vital to keep temperatures down.
Cooling: Keeping Things Cool
Your CPU needs a cooler! Air coolers are generally affordable and reliable. Liquid coolers (AIO or custom loops) offer potentially better performance but are more expensive and require more maintenance.
2. Assembly: Putting It All Together
Now for the fun part! Here’s a general outline of the assembly process:
- Prepare Your Workspace: A clean, well-lit area is essential.
- Install CPU on Motherboard: Carefully align and secure the CPU in its socket. Apply thermal paste if it’s not pre-applied to your cooler.
- Install RAM: Insert the RAM sticks into the appropriate slots, matching the recommended configuration (check your motherboard manual).
- Mount CPU Cooler: Attach the chosen cooler to the CPU and secure it properly.
- Mount Motherboard in Case: Install standoffs in the case and carefully position the motherboard on top.
- Install GPU: Insert the graphics card into the primary PCIe slot.
- Install Storage Devices: Mount SSDs/HDDs in their bays and connect them to the motherboard using SATA cables (or directly via M.2 slots for NVMe SSDs).
- Connect PSU: Connect the PSU cables to the motherboard, GPU, and storage devices.
- Cable Management: Neatly route and secure the cables for better airflow and aesthetics.
3. Initial Boot & BIOS Configuration
Once everything is connected, it’s time to power on your new PC! Plug in the monitor, keyboard, and mouse. Press the power button.
- BIOS Access: You’ll likely need to press Del, F2, or another key during startup (check your motherboard manual) to enter the BIOS setup.
- Boot Order: Ensure that your boot drive (the SSD/HDD with your operating system) is selected as the primary boot device.
- Fan Curves: Adjust fan curves in the BIOS to balance cooling performance and noise levels.
4. Operating System Installation
After configuring the BIOS, you can proceed with installing your operating system (Windows, Linux, etc.). You’ll need a bootable USB drive or DVD containing the OS installation files.
5. Driver Installation and Testing
Once the OS is installed, install drivers for all your components – motherboard chipset, graphics card, network adapter, etc. Run stress tests (CPU/GPU benchmarks) to ensure stability and performance.
Troubleshooting Tips
- No Power? Double-check PSU connections.
- No Display? Make sure the monitor cable is connected to the GPU, not the motherboard.
- System Won’t Boot? Check RAM seating and BIOS settings.
- Overheating? Verify cooler installation and airflow.
Building your own PC is a rewarding experience. Take your time, research thoroughly, and don’t be afraid to ask for help online forums are invaluable resources. Good luck with your build!